Kulya 4.0 {body}
HEXAPOD Kulya 4.0
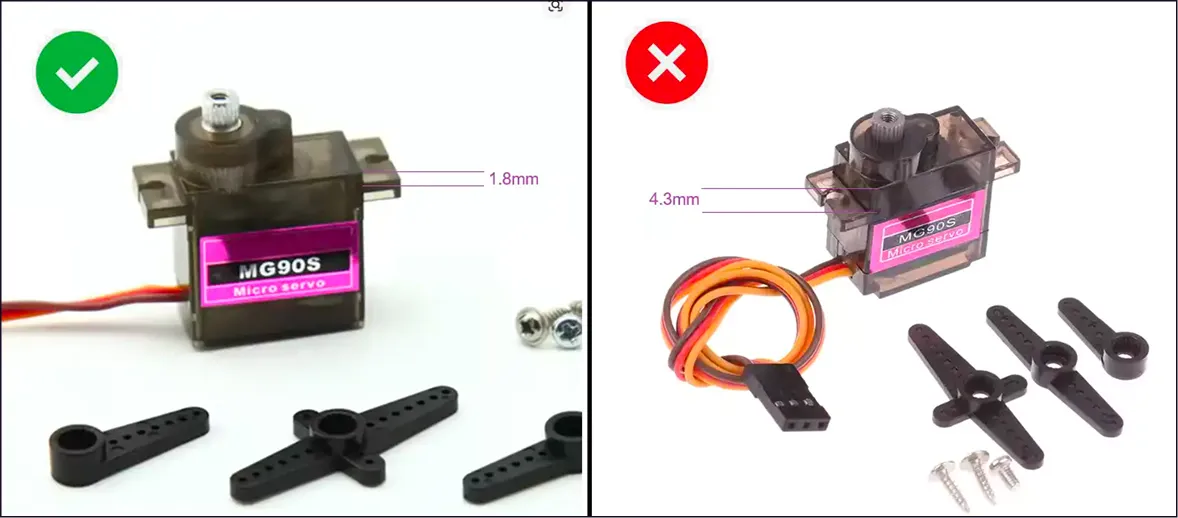
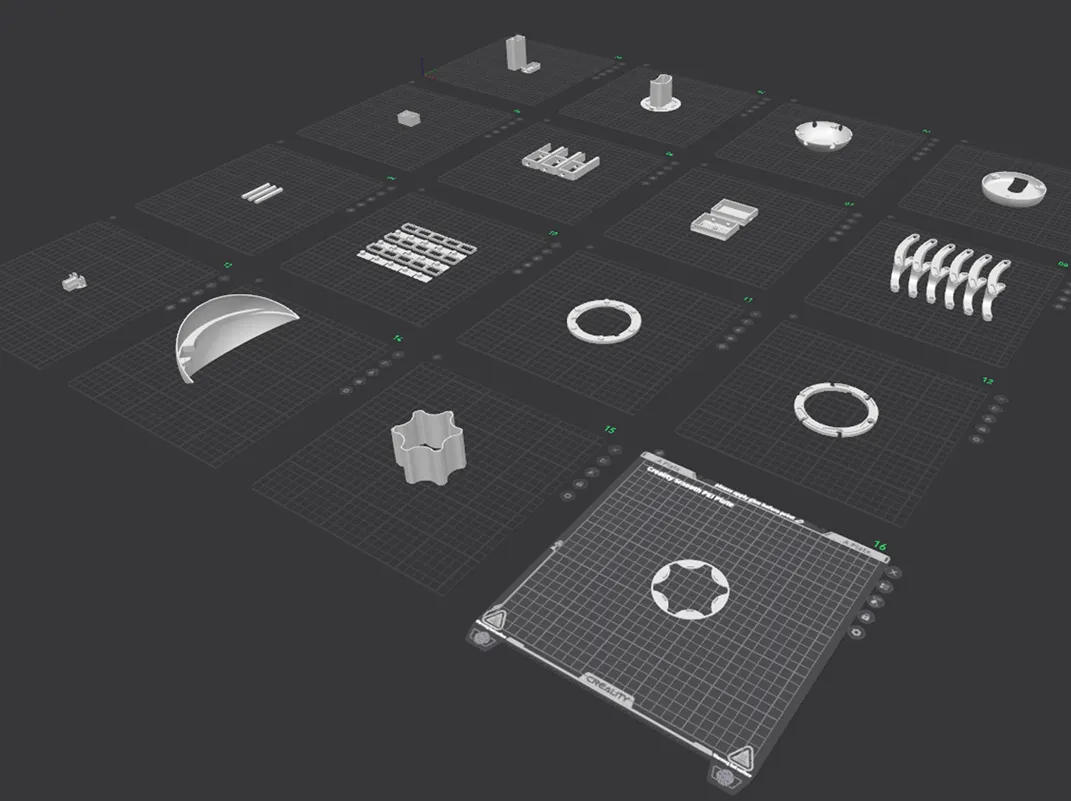
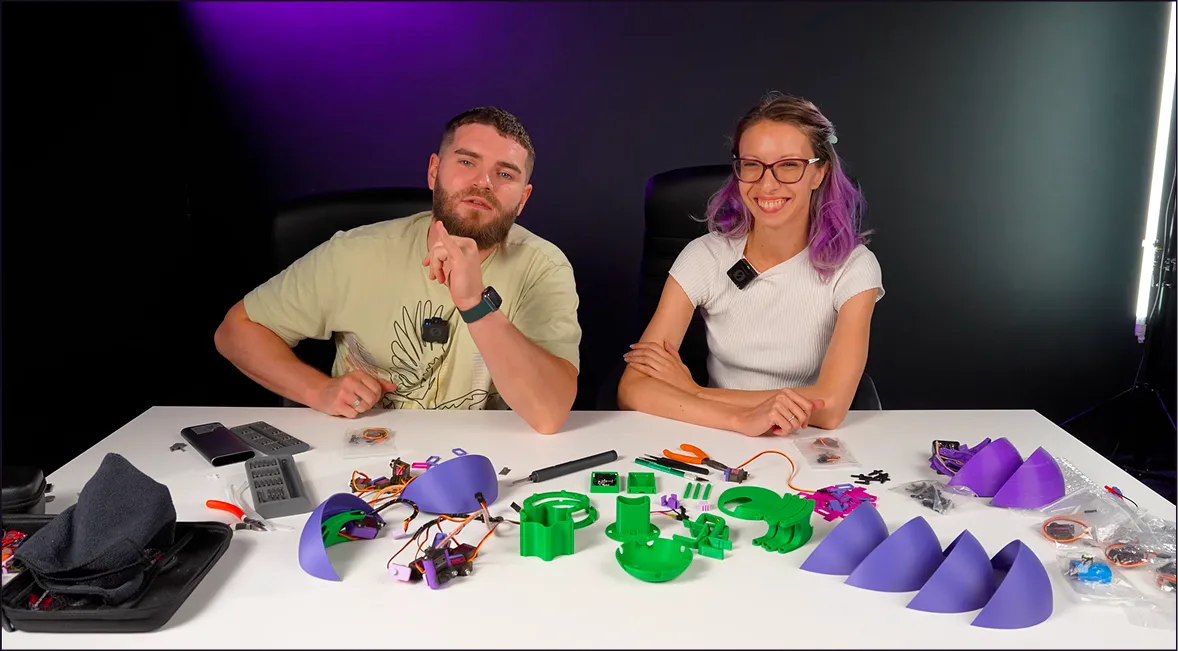
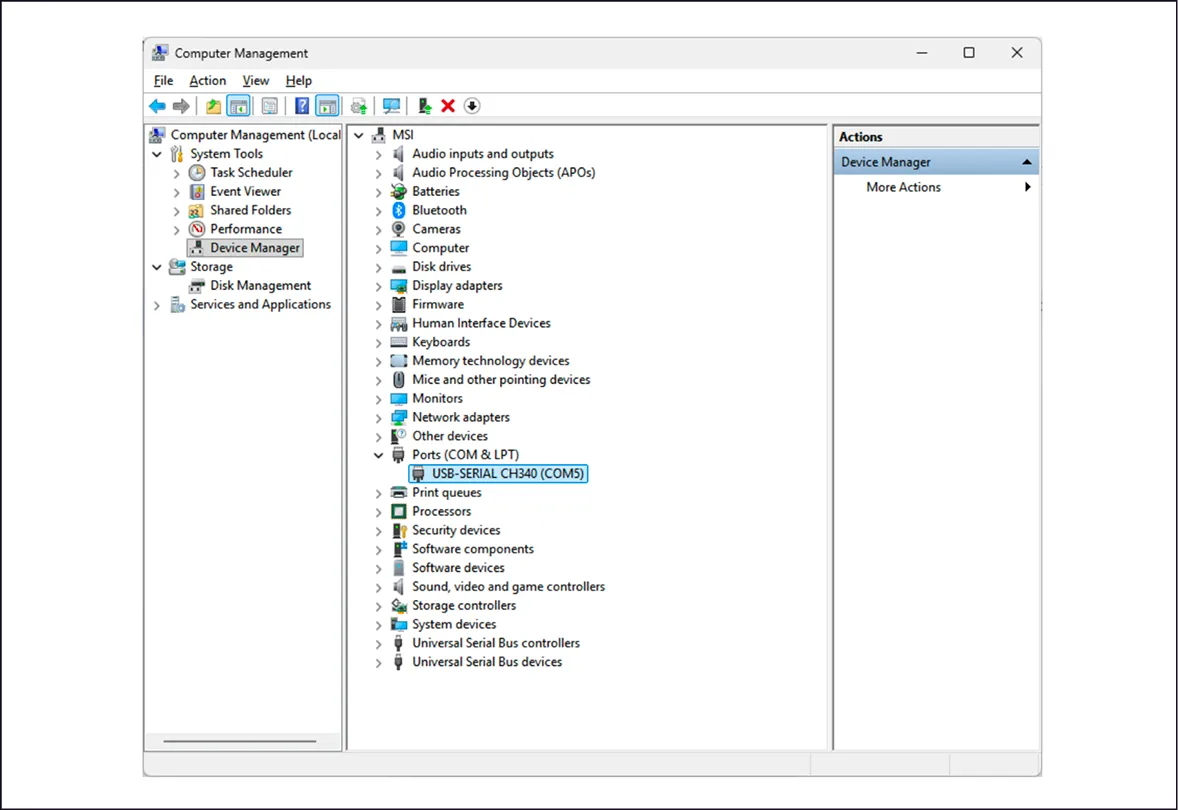
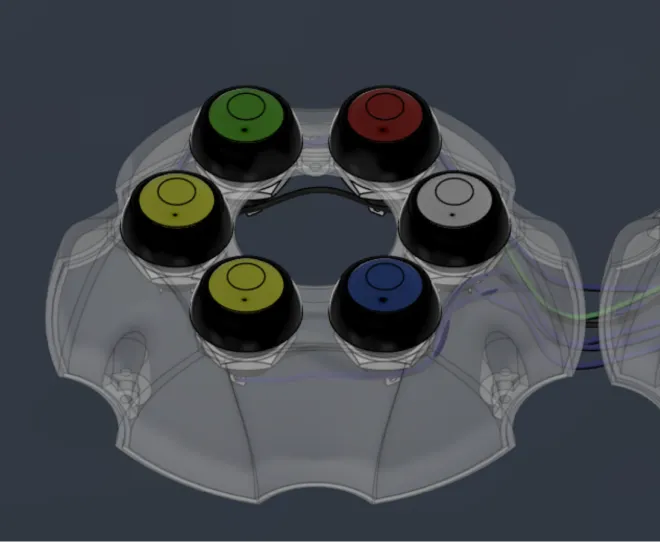
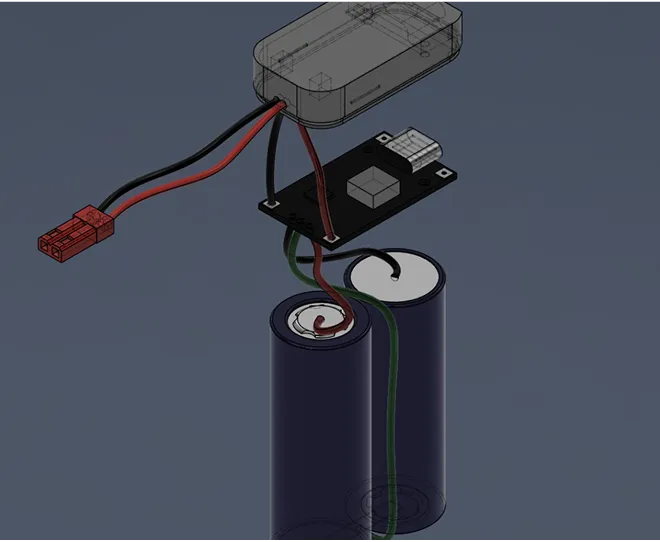
In this DIY, you will build KULYA 4.0 from scratch. You will 3D print the parts, assemble the robot’s structure, connect control and power, and see how separate pieces become a working robot. This is not just following instructions — it’s real making.
0
people already downloaded this DIY
.png)